Instant Pot Basmati Rice
We may earn money from the products/companies mentioned in this post. As an Amazon Associate I earn from qualifying purchases. For more information, read our Terms & Disclosures.
Basmati rice is a fluffy, delicious side dish for many dinners and making it in your Instant Pot means a perfectly light and tasty rice every single time!
If you’ve never tried basmati rice, you’re about to fall in love. Or at least become slightly smitten. I used to think all rice was created equal; I was wrong.
But I never could get it to come out quite right…until I made it in the Instant Pot.
WHAT IS BASMATI RICE & WHEN SHOULD I USE IT?
Basmati rice is a high quality, long grain white rice from India. It can be both white or brown, although the majority of times it will be served white. It is gluten free, aromatic, and easy to make, too!
It is light and fluffy because, even when it’s cooked, each grain remains separate. This makes it ideal as a side dish and it is often the type of rice chosen for Indian cuisine and pilaf recipes. However, I also love it as a base for soups, stews, and chilis. This and jasmine are my favorites!
Interestingly, it’s not as calorie dense or starchy as other types of white rice and has a strong vitamin and mineral profile compared to other rices (source).
DO I NEED TO PRE-SOAK RICE?
That’s the question many people have and there are various points of view. In this recipe, I soak it for half an hour and then rinse it for a couple of minutes.
But honestly, you could skip the step and be fine. However, if you take the time to soak it, you’ll usually end up with a slightly fluffier rice with a really solid flavor. It’s worth it!
DO I REALLY NEED TO RINSE IT FIRST?
100% yes! Rinse the rice until the water is no longer cloudy. This is the secret to getting fluffy rice instead of a gelatinous mess. You see, you’re rinsing off all the starch.
Don’t skip this simple step!
DO I REALLY NEED TO FLUFF & WAIT?
You’ll see a lot of rice recipes tell you to fluff the rice with a fork when it’s done cooking and then wait several minutes before serving. Why?
Well, fluffy rice needs to be fluffed…and then you need to let it sit or you’ll smush it all up and it won’t be fluffy any more. However, after about 5 minutes with the steam evaporating, you’ll be fine to serve it.
CAN I FLAVOR MY INSTANT POT BASMATI RICE?
Absolutely! In fact, our favorite way to serve it is with onions, chives, and parmesan cheese. Also, swapping out water for your favorite broth also adds great flavor. It’s so yummy!
Other combinations we’ve enjoyed are ginger, garlic, and sesame oil for an Asian inspired dish. We usually serve it with Korean Beef Bulgogi.
You can also do onion, swap out some of the liquid with pineapple juice, and add some pineapple chunks and roasted red peppers for a Hawaiian inspired treat. Pair it with some ham or grilled teriyaki chicken. Mmmm.
And of course there’s always Mexican inspired rice with some taco seasoning, onions, garlic, and peppers!
Here’s how we do it:
After you’ve soaked and rinsed your rice, put all the ingredients into your pressure cooker.
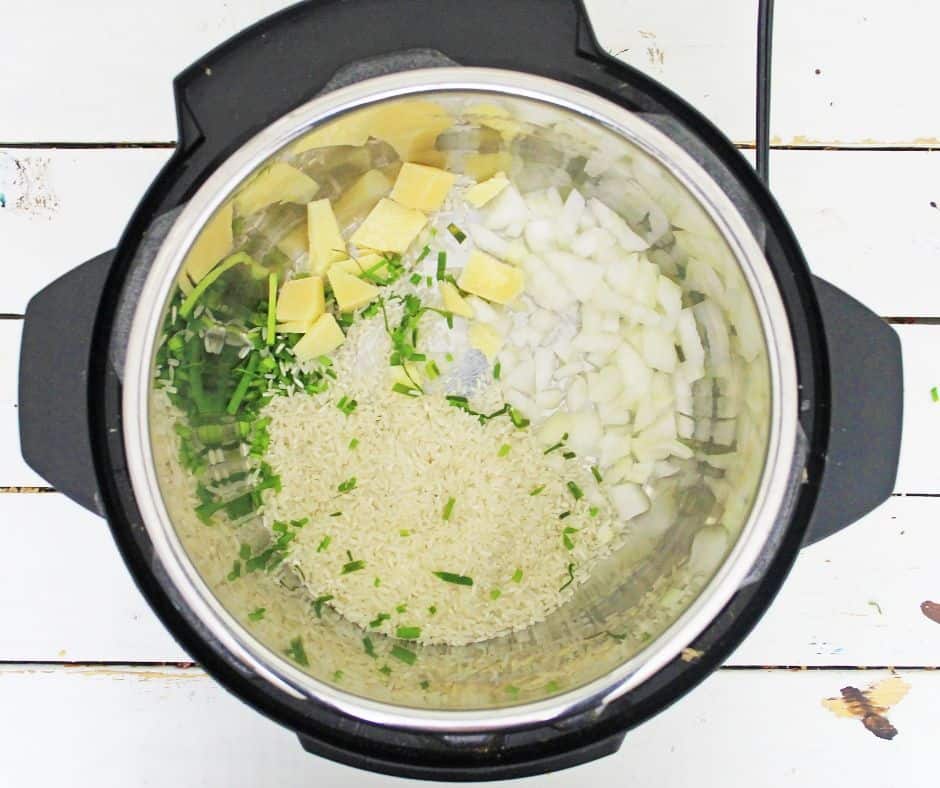
Stir them well so it’s all mixed together and then seal the Instant Pot. Cook on manual for 5 minutes and then allow the pressure to release naturally for 20 minutes. Carefully release the pressure after that.
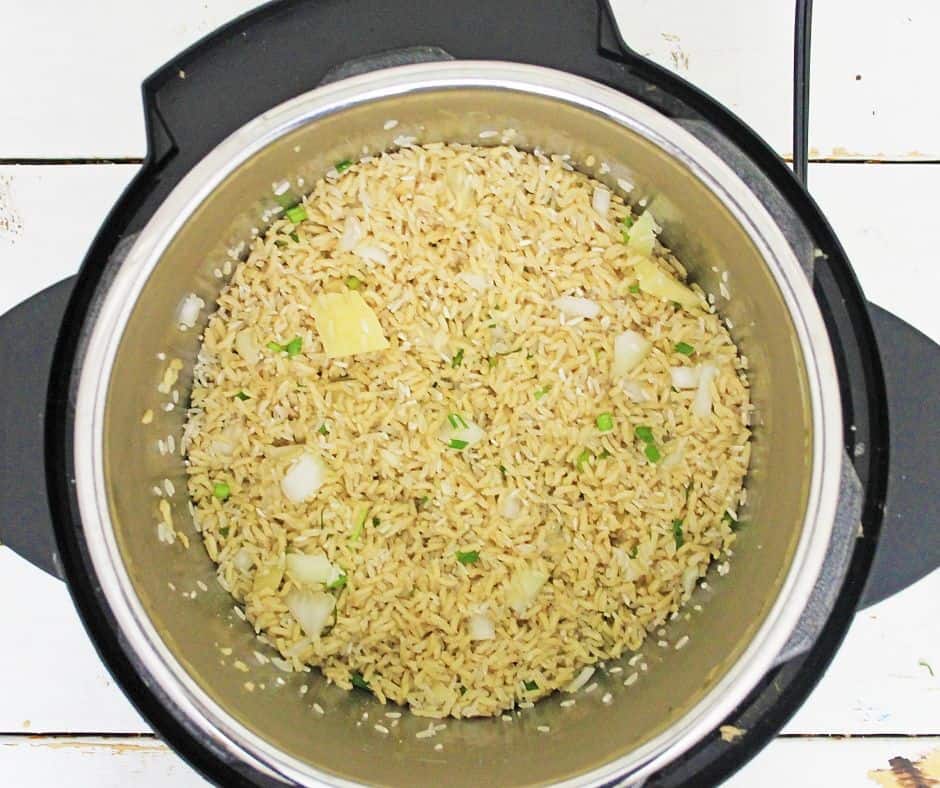
Fluff the rice with a fork, let it rest a moment, then serve garnished with parmesan and chives for some added flavor!
Of course, you can always enjoy it plain, if you prefer.

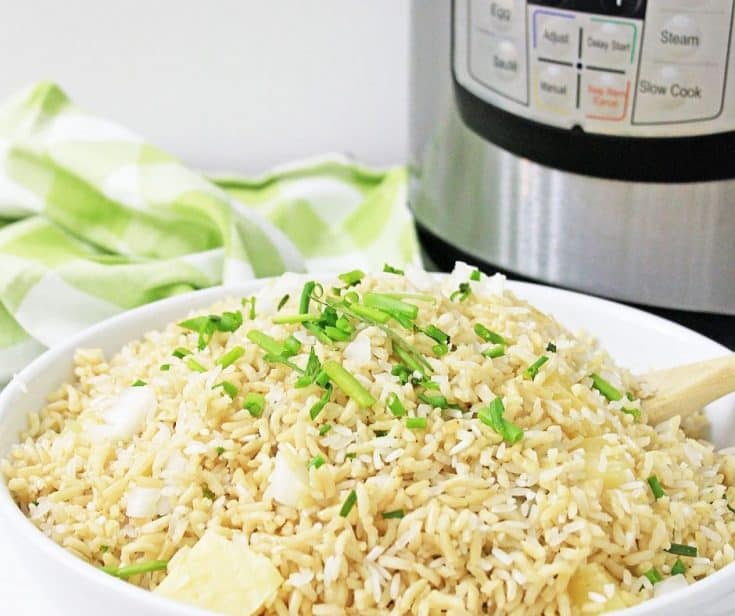
Seasoned Instant Pot Basmati Rice
This Instant Pot rice is a delicious side dish to Chicken, Beef, or Pork, or, you can eat it on it's own. The flavors are so good, and the Instant Pot just enhances them, so you get a bite that bursts with smooth rice, onion, chives, and Parmesan cheese (or nutritional yeast!). You can have it done in no time, and serve it with just about anything, and you're good to go. You'll really love this recipe.
Ingredients
- 2 Cups of Basmati Rice
- 2 1/2 cups of vegetable or chicken broth or water *
- 1/2 Tablespoon of butter
- 1 teaspoon of garlic salt
- 1 teaspoon of fresh ground pepper
- 1 medium sweet onion - finely chopped
- 1 teaspoon of minced garlic
- 1 bunch of Chives, rinsed, dried, and cut with Kitchen scissors
- 1 cup of fresh grated Parmesan cheese (optional) *
Instructions
- In a bowl, soak the rice for 1 /2 hour in cold water.
- Pour the rice into a strainer, pouring off the water it was soaking in, and rinse the rice in cold water for about a minute, removing the starches in the rice.
- Drain the rice, and place it in the Instant Pot liner, and add the chicken broth, butter, garlic salt, pepper, onion, and minced garlic.
- Stir well, blending all ingredients.
- Place the lid on the Instant Pot until it beeps and locks.
- Make sure the pressure valve is set to 'SEALING', and press the manual button, and set the time for 5 minutes.
- Allow the Instant Pot to build and release the pressure automatically. When the rice is done, the Instant Pot will go to the 'OFF' setting, but will still release pressure.
- Wait for the Instant Pot to release all the pressure; about 20 minutes; check the float valve to make sure it's all the way down.
- With a pot holder, gently turn the pressure valve to 'VENTING' to make sure all pressure is released.
- Remove the lid, and fluff the rice with a fork.
- Place the rice in a serving dish, top with fresh grated Parmesan cheese and Chives, and serve immediately.
- Enjoy!
Notes
If you just want plain rice, leave out the aromatics and use water instead of broth.
If you are vegan or vegetarian, use vegetable broth instead of chicken broth and use nutritional yeast instead of parmesan cheese.
Recommended Products
As an Amazon Associate and member of other affiliate programs, I earn from qualifying purchases.
