Easy DIY Paper Flower Wreath Craft
We may earn money from the products/companies mentioned in this post. As an Amazon Associate I earn from qualifying purchases. For more information, read our Terms & Disclosures.
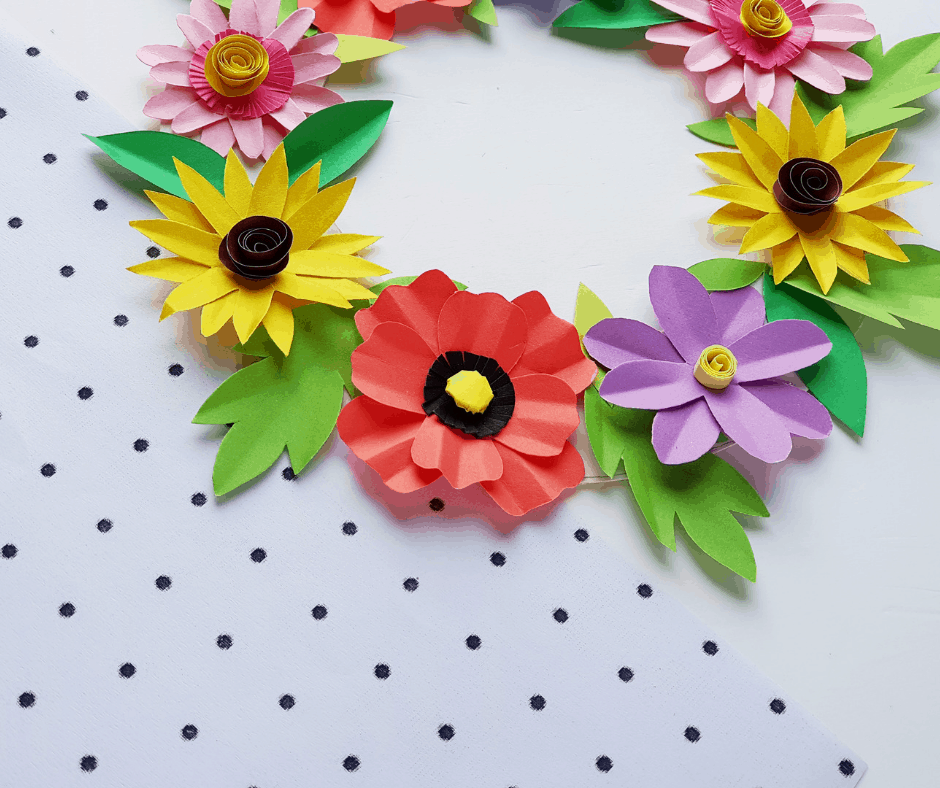
This beautiful DIY paper flower wreath craft is fun to make for young children and adults alike. Simple enough to do with your kids and beautiful enough to give as a gift. Paper crafts are simple, frugal, fun art projects for kids.
One of the best parts about making this paper flowers craft is that it’s good for home decor as well as a fun homemade gift. It also has plenty of bright colors in it which helps it bring cheer to others, too.
Since you only need a handful of craft supplies to make this DIY paper flower wreath, you might just find yourself making a few to have hanging up around your home.

Don’t forget to try your hand at this Construction Paper Shapes Rainbow Craft as well. It’s great for the kids but adults can do it, too.
The fun part about this craft is that you get to make so many different shapes and types of flowers. It’s a fun and easy way to showcase your creative side!
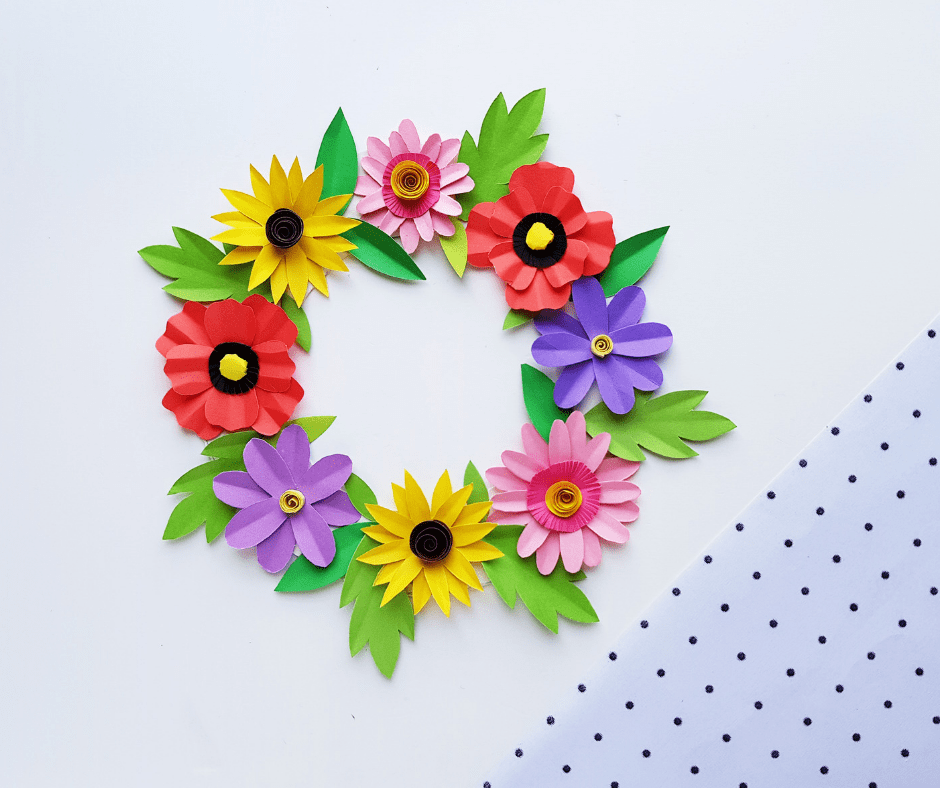
With just 5 simple supplies needed (most you probably already have at home!), you’ll be pumping out this simple wreath over and over again. The beauty of making a DIY colorful wreath at home is that it can be hung in front of windows or on interior doors as well.
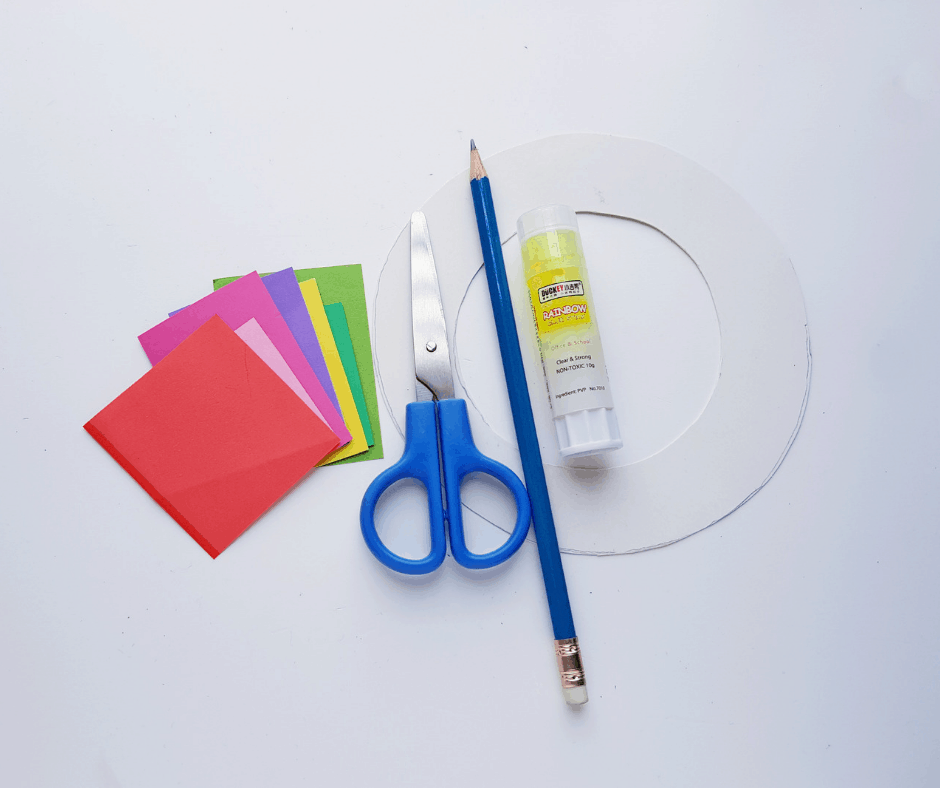
Supplies needed for this Easy DIY Paper Flower Wreath Craft
All you have to do to get started is gather up the short list of simple supplies below.
- Colored craft papers
- Pencils
- Scissors
- Craft glue
- Wreath base
How to make this DIY Paper Flower Wreath
Just follow the simple steps below to make this beautiful DIY flower wreath.
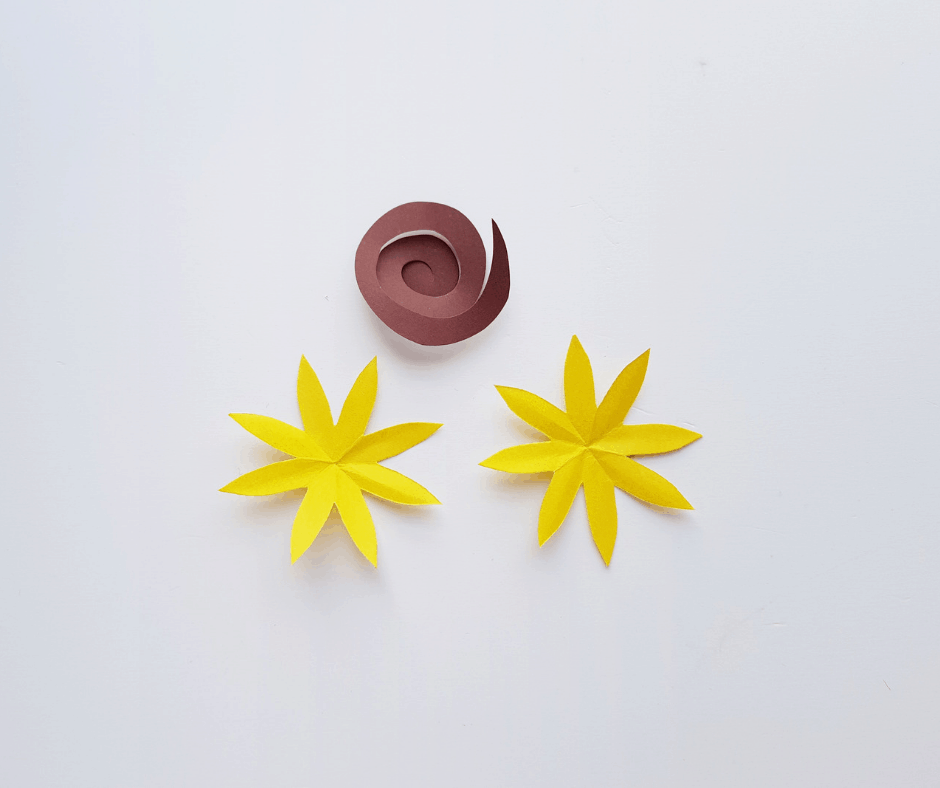
Cosmos – 1:
Take the cosmos flower pattern and trace it onto colored craft paper. The color choice is up to you. Once done, cut out the pattern.
Cosmos -2:
Take the yellow strip and make a loose coil. Then create creases on the cosmos flower cutout.
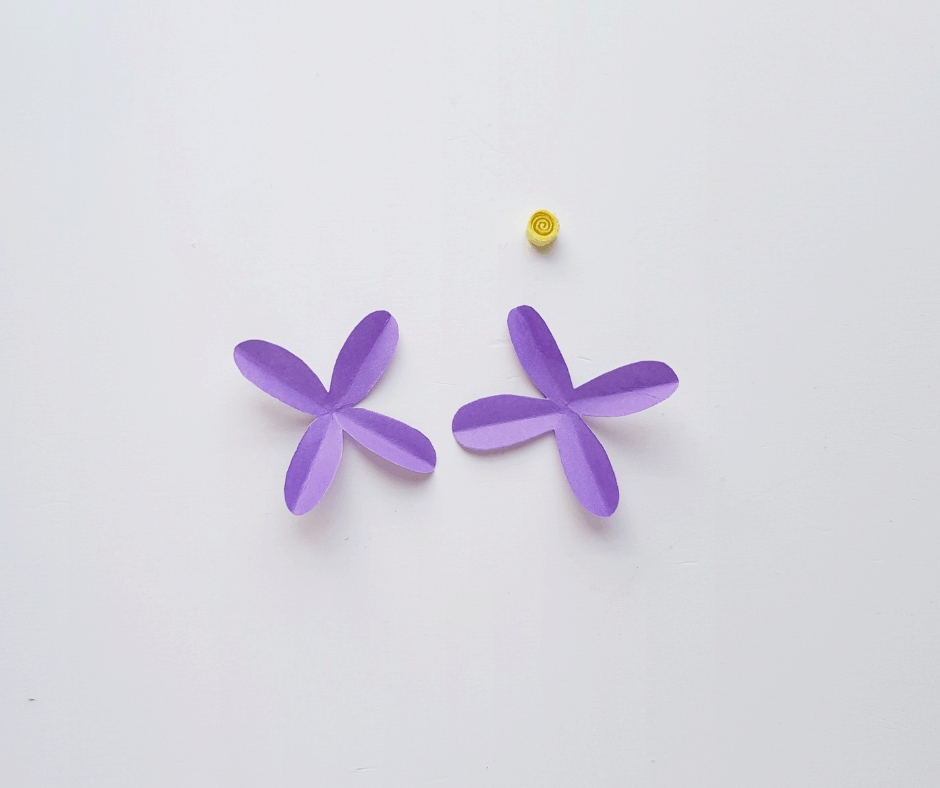
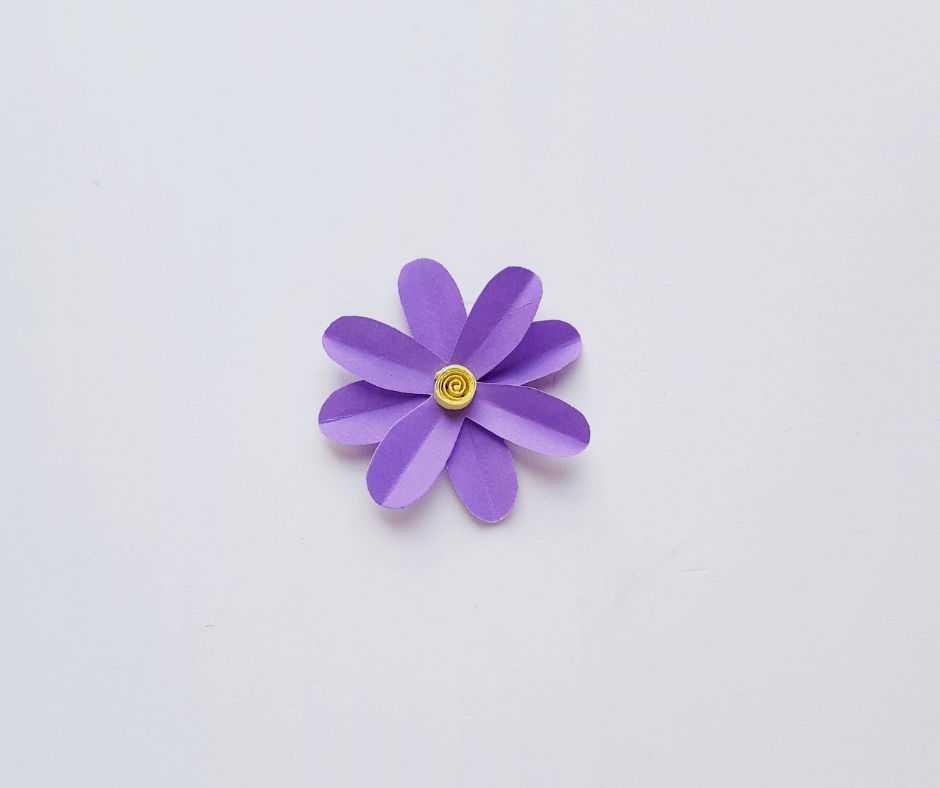
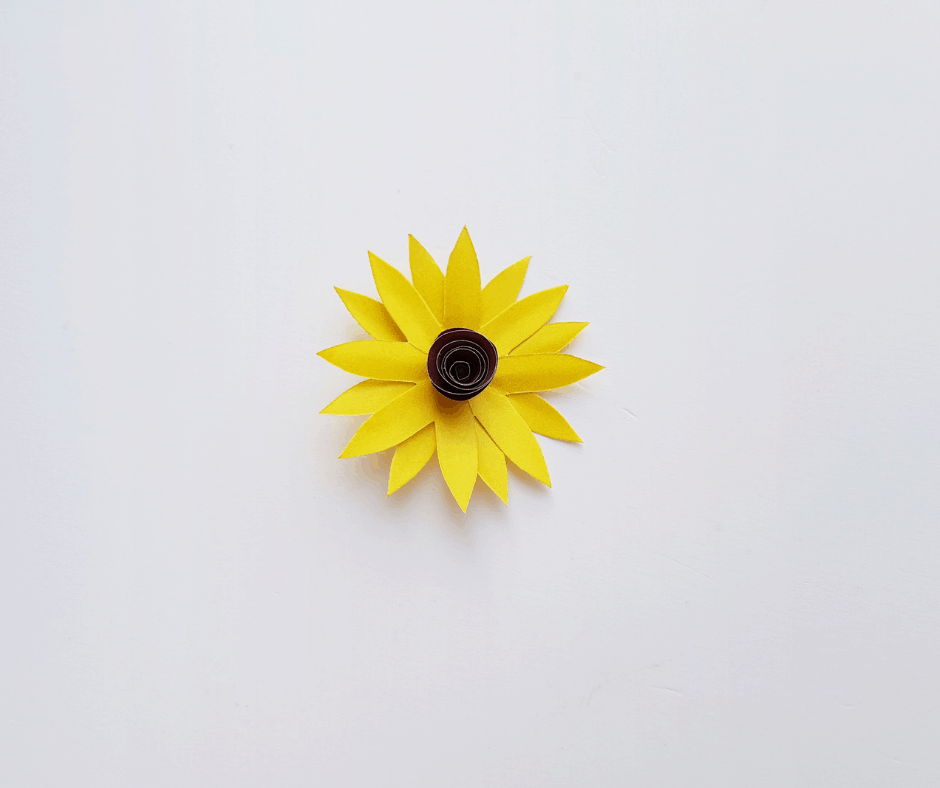
Cosmos – 3:
Take the cosmos flower and criss-cross them. Once done place the loose coil into the very center of the flower.
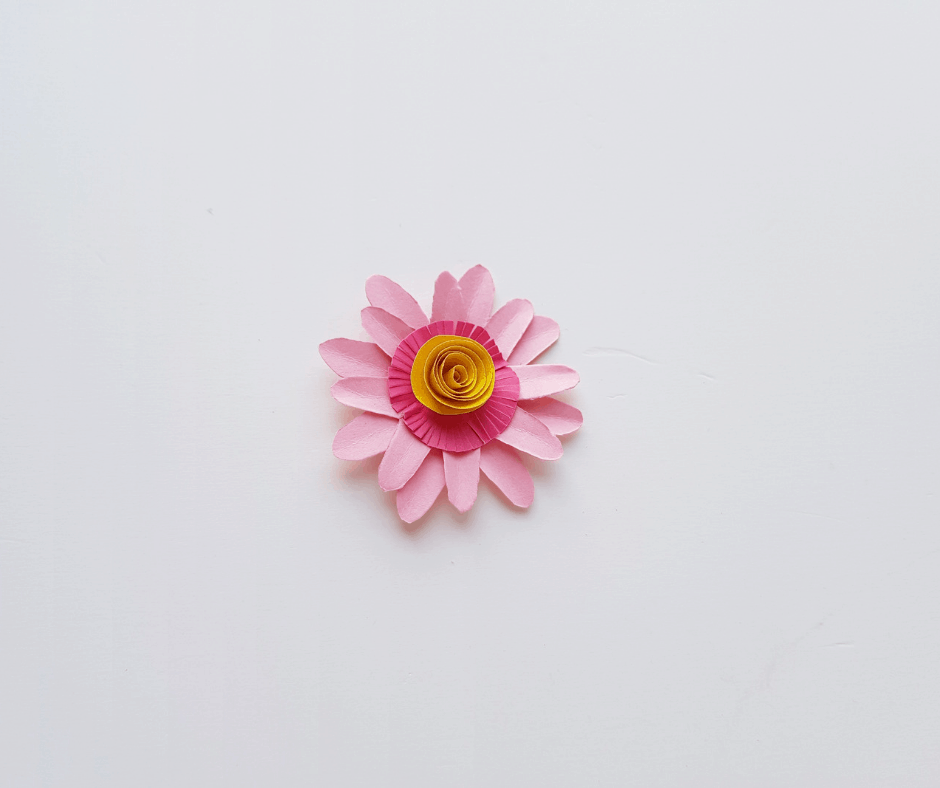
Daisy – 1:
Take the daisy template and trace out the daisy pattern onto the craft paper. Once done, cut them out.

Daisy – 2:
Next, create a crease on the flower petal patterns and create a spiral rose. You do this by using the spiral cutout and by rolling the spiral from the very outside edge into the center. Once that is done, take and cut the fingers around the outer surface area.
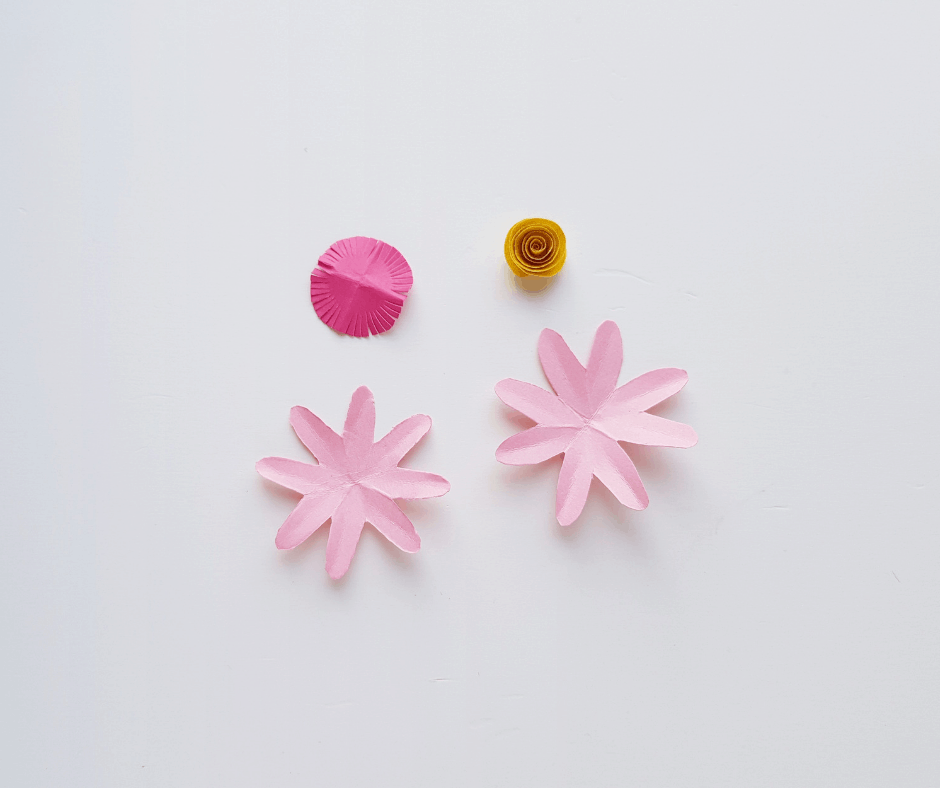
Daisy – 3:
Take the 2 cutouts of the flower and criss cross them. Then, take the round fringe cutout that you just did and put it on the center of the flower. Once that is done, take and stick the spiral onto the middle of the fringed pattern. Then use a needle and take it to the back of the cut out, slightly near the center.
Poppy – 1:
Take the poppy pattern and trace it onto your craft paper. Once done, cut out.
Poppy – 2:
One the flower cutout, create accordion folds along the crease of the petals. Then you’re going to want to cut fringes on the outer area of the round part of the cutout and then crumple those fringes to go towards the center. This will create a little ball shape. Once that is done, cut other fringes around the outside area.
Poppy – 3:
You’re going to do the same as above and create a cutout of the flower and put it together criss-cross. Then take the round fringed shape and put it on the center. Next, take the crumpled paper and place it on the black shape, in the middle.
Step – 1:
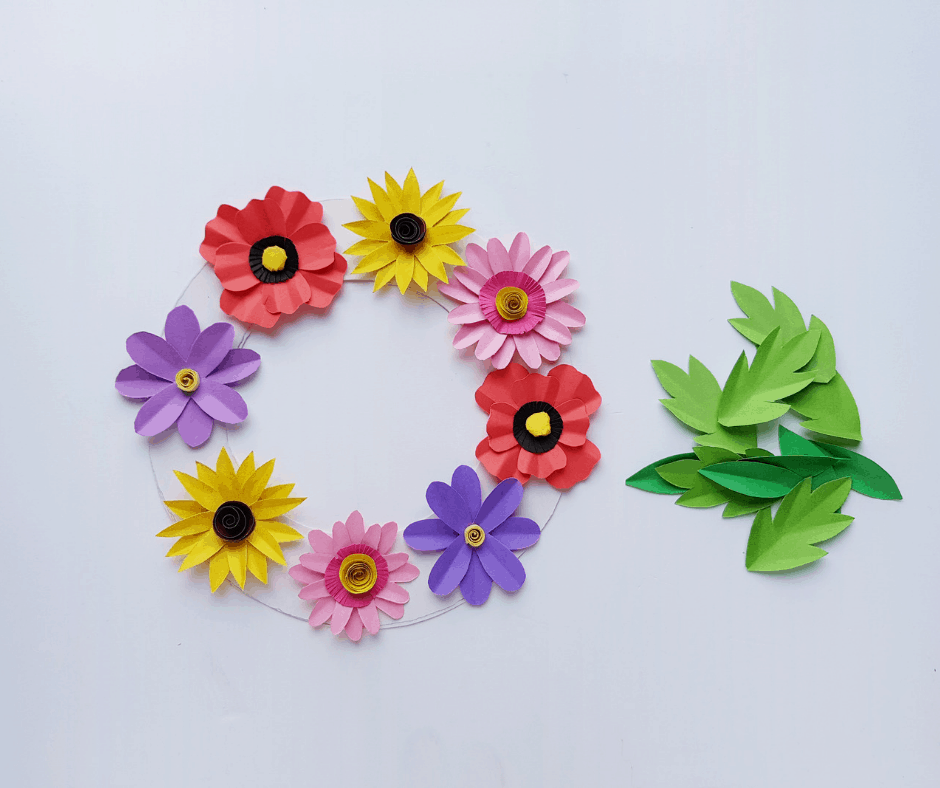
Grab the green craft papers and trace the leaf patterns and then cut them out.
Step – 2:
Next, take the wreath base and lay it on a flat surface.
Step – 3:
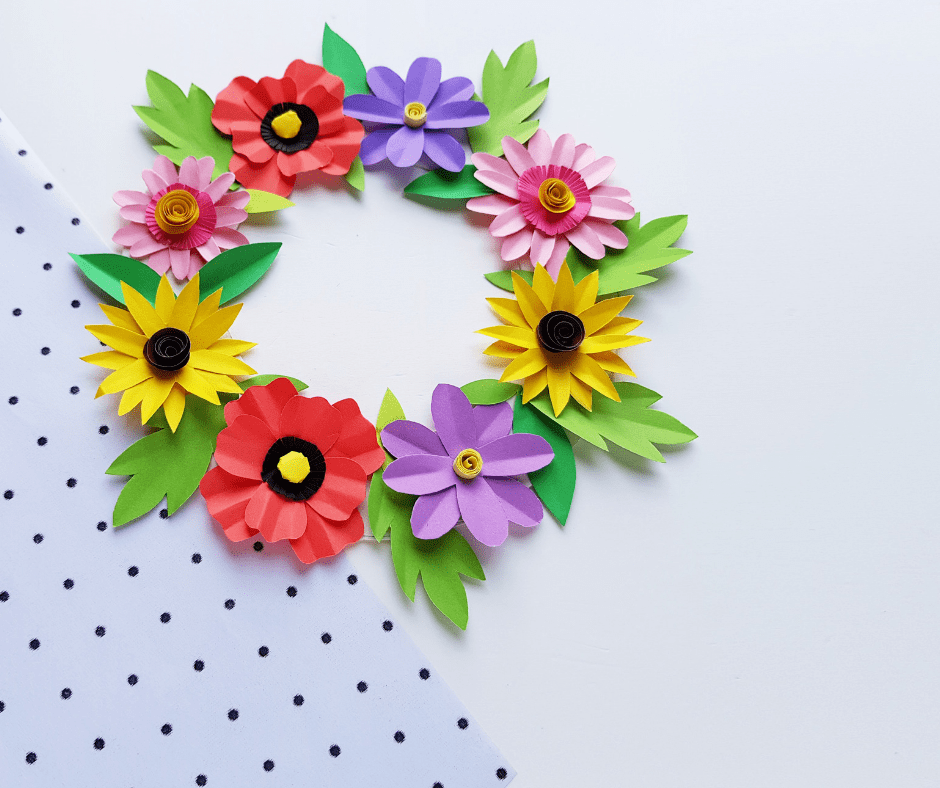
Put glue on the back of the flowers and them attach them to the base of the wreath. Put them in an order that looks nice and fill up the base well.
Step – 4:
Put the cut out leaves in-between the flowers and do your best to fill in any gaps.
Step -5:
You can add as many leaves as you want to on the wreath to fill in gaps and area. Once done, it’s ready for you to hang and show off!
Tips for making this Papers Flower Craft
There are a few tips that can help make this process go a bit faster for you the next time you make it.
What type of hanger should I put on the back of my wreath?
Any type of hanger will work just fine. Since this paper wreath is really light, you don’t have to worry about it holding much weight at all.
Can I replace a flower if it fades?
You can. As long as you have it independently glued onto the wreath base, you can take it off later on down the road if you need to and replace it with ease.
This this DIY paper wreath easy for beginners?
Yes, as long as the directions are followed, this would be a great craft for a beginning crafter.
If you find that you love crafting, make certain to try this Scrapbook Paper Christmas Wreath Craft as well!

Easy DIY Paper Flower Wreath Craft
This beautiful DIY paper flower wreath craft is fun to make for young children and adults alike. Simple enough to do with your kids and beautiful enough to give as a gift. Paper crafts are simple, frugal, fun art projects for kids.
Materials
- Colored craft papers
- Pencils
- Scissors
- Craft glue
- Wreath base
Instructions
Cosmos – 1:
Take the cosmos flower pattern and trace it onto colored craft paper. The color choice is up to you. Once done, cut out the pattern.
Cosmos -2:
Take the yellow strip and make a loose coil. Then create creases on the cosmos flower cutout.
Cosmos - 3:
Take the cosmos flower and criss-cross them. Once done place the loose coil into the very center of the flower.
Daisy - 1:
Take the daisy template and trace out the daisy pattern onto the craft paper. Once done, cut them out.
Daisy - 2:
Next, create a crease on the flower petal patterns and create a spiral rose. You do this by using the spiral cutout and by rolling the spiral from the very outside edge into the center. Once that is done, take and cut the fingers around the outer surface area.
Daisy - 3:
Take the 2 cutouts of the flower and criss-cross them. Then, take the round fringe cutout that you just did and put it in the center of the flower. Once that is done, take and stick the spiral onto the middle of the fringed pattern. Then use a needle and take it to the back of the cutout, slightly near the center.
Poppy – 1:
Take the poppy pattern and trace it onto your craft paper. Once done, cut out.
Poppy - 2:
One the flower cutout, create accordion folds along the crease of the petals. Then you’re going to want to cut fringes on the outer area of the round part of the cutout and then crumple those fringes to go towards the center. This will create a little ball shape. Once that is done, cut other fringes around the outside area.
Poppy - 3:
You’re going to do the same as above and create a cutout of the flower and put it together criss-cross. Then take the round fringed shape and put it in the center. Next, take the crumpled paper and place it on the black shape, in the middle.
Step - 1:
Grab the green craft papers and trace the leaf patterns and then cut them out.
Step - 2:
Next, take the wreath base and lay it on a flat surface.
Step - 3:
Put glue on the back of the flowers and then attach them to the base of the wreath. Put them in an order that looks nice and fill up the base well.
Step - 4:
Put the cut out leaves in-between the flowers and do your best to fill in any gaps.
Step -5:
You can add as many leaves as you want to on the wreath to fill in gaps and areas. Once done, it’s ready for you to hang and show off!