Rock Painting For Beginners: Painting On Rocks For Kids
We may earn money from the products/companies mentioned in this post. As an Amazon Associate I earn from qualifying purchases. For more information, read our Terms & Disclosures.
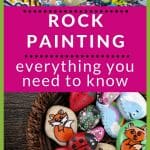
Rock painting is a great kid-friendly (and budget-friendly) activity for toddlers, preschoolers, kindergarteners and beyond. It’s a great craft and a wonderful way to enhance fine motor skills, encourage creativity, and have fun together as a family.
Have you ever considered rock painting as a fun activity the whole family can enjoy?
If not, you’re missing out! Painted rocks are popular and fun to make, plus rock art is a great way to express your creativity (and jazz up a windowsill, garden, or front walkway!).
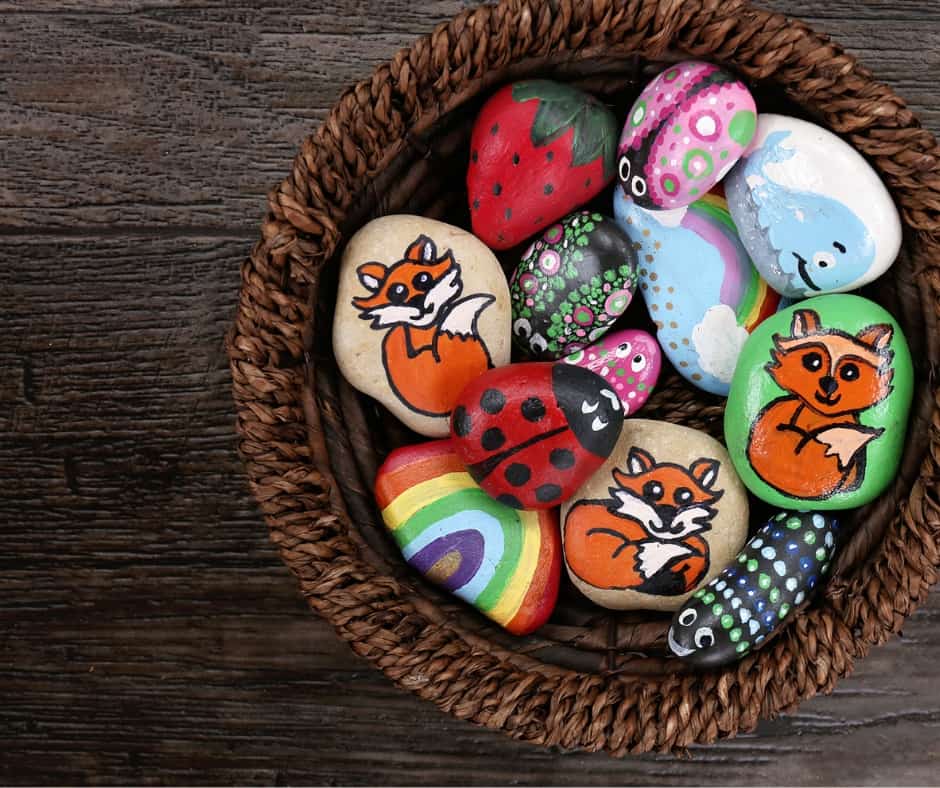
This step-by-step tutorial for creating beautiful painted rocks will show you which rock painting supplies you need, give you some easy rock painting ideas, and introduce you to a fun new hobby.
You will be making lovely painted rocks you can enjoy for years to come!
Some of my earliest memories are of my grandmother creating rock art at her craft table. From Santas for holiday gifts to smiley faces to greet you at the front door, painted rocks were a part of my favorite childhood memories. In fact, we still have some of those rocks in our home today!
Today’s kids know all about rock painting, too! Rock art isn’t just part of yesteryear. You may have seen the result of the kindness rocks project all over the internet for random acts of kindness day. Some local parks have become known places for hiding hand-painted kindness rocks for others to find.
These painted rocks are not only a beautiful way to add a personal touch to your garden, but a beautiful way to show someone you care (even if you’ve never met them).
Making a decorative rock or few is so much fun once you have what you need.
One pro tip: don’t let your inexperience hold you back from getting started painting rocks! This is a fun idea kids love, but there’s no reason you can’t also enjoy this super cute art trend.
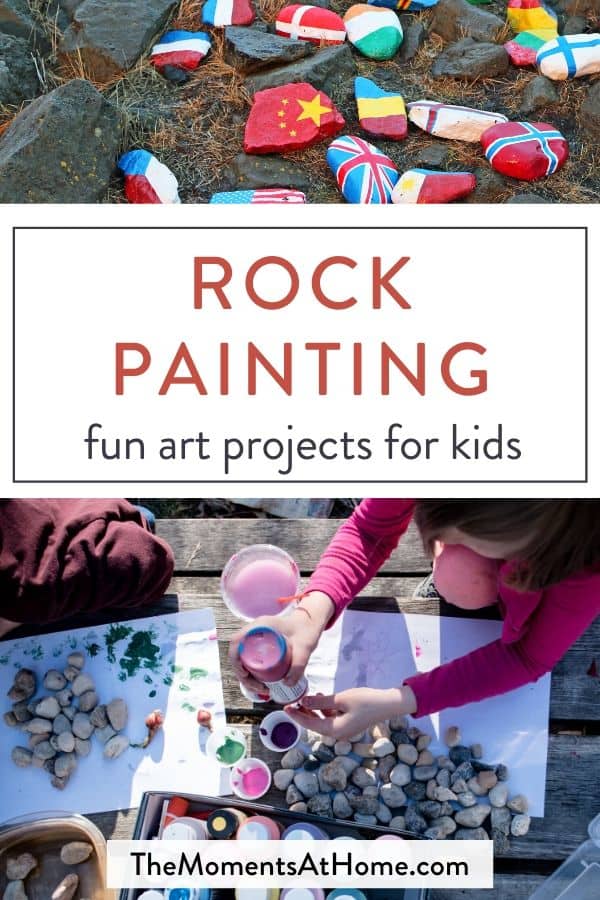
The Best Rock Painting Supplies
When it comes to art, having the right supplies on hand makes all the difference. Rock painting is no exception.
Now, you can absolutely use what you have on hand if you’re just out to pass the time making some painted stones on a weekend…but be warned: painting stones is fun and once you get started, you’ll come up with one fantastic idea after another for easy designs, fun twists on classics you’ve seen on Pinterest, and more.
Pretty soon, you’ll be looking for a suitable shape for your next rock painting inspiration while you’re getting the mail!
Please note: if you’re looking to paint rocks for your fairy garden, to hide in the park as part of your own kindness rock project, or you’re making a holiday decor you want to last year after year…well, then it’s important to have all of the proper rock painting supplies on hand.
Even kids will do best when well equipped…but for them, that might mean a pair of bib overalls and fingers ready to finger paint!
Here are a few ideas of what you’ll need to have on hand for your fun rock painting family adventure:
Smooth stones (it’s okay if they’re not round; a bizarre shape makes it more fun!)
Acrylic Paint Pens
Acrylic Paints of various colors
Paint brush (es)
Multipack of extra fine tip paint pens
Optional: Water-based glue sealer or acrylic varnish told hold paint longer
Optional: Black outline acrylic paint pens
Optional: Dotting tools (a pencil eraser, toothpicks, or more professional painting supplies will work here)
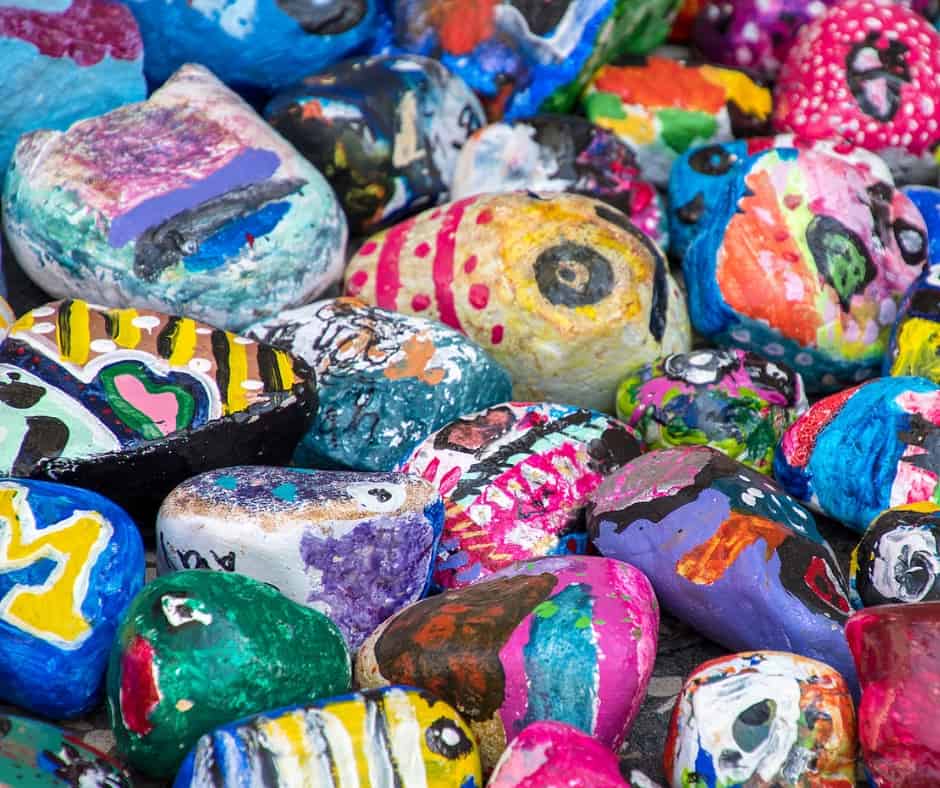
How To Paint Rocks for Outside & Inside
When it comes to the paint, what kind do you get? Painting rocks for outside, especially, means you need to take care with your supplies.
Patio paint or acrylic paint are the two best options for painting on rocks. Both of these paints will stick well to any type of rock surface.
You want to make sure you’re using patio paint or acrylic paint so that the rocks can be placed indoors or outdoors and still stay beautiful.
Another option is to use whatever paints you have on hand and then properly seal them.
But hands down, the best paint to use for painting on rocks is with paint pens designed for this exact purpose. THESE PAINT PENS are fantastic!
Where Do You Find Rocks To Paint
When it comes to searching for rocks to paint with kids, it’s important to know that you can’t take rocks from National Parks. Also, be vigilant if you decide to head to your local lake or stream, as getting too close to fast running water when looking for the best stones can be dangerous.
You can go into the woods, to local parks, your backyard, or a local gardening store or quarry.
We’ve always enjoyed getting some from a long a shallow creek bed or a nature walk in the woods, but at times have also wanted to get certain sizes for a game in which case we’ve actually bought them.
If you and your kids are serious about it, a local landscaping supply store will usually sell them cheaply and you can pick out the right size/shape for what you’re wanting.
What Kind Of Rocks Are Best?
While you can buy rocks, to keep this budget friendly, remember that scouring the great outdoors can be great fun, too! Plus, if you’re painting rocks for outside, the natural shape will help them “fit” wherever you put them.
Most rocks found on the side of a stream will be smooth, but don’t be afraid to collect a variety: smooth rocks, rocks with a bizarre shape, flat rocks, even colorful rocks will all make great canvases when you are ready to decorate rocks.
Once you’ve got a great collection of rocks, it’s time to break out those acrylic paint pens, paint markers, brushes, acrylics in a variety of paint colors, and any other art supplies you’ve gathered (googly eyes are always a winner!) to help you create art!
Prep: How To Prepare Your Rock(s)
If you’re wondering how to paint on rocks (especially for outdoor use), preparation is key. Be sure to follow these easy steps to get your rocks ready for painting:
Use bleach or a comparable cleaner to wash the rocks off in warm water with the cleaner. This will remove any dirt residue still found on the rocks and is the first step to prepare rocks before painting.
Use an old toothbrush or scrubby pad to scrub the rocks completely clean, getting into any cracks or crevices.
Be sure to dry the rocks completely before you apply a coat of acrylic primer. You can use a hair dryer for this if you want to speed up the process.
You may need to use sandpaper if the rocks have any hard surfaces that you want to be smoothed out prior to painting the rocks.
You can use a base coat if you prefer (source) or go au natural.
Be sure to use a good outdoor rock sealer for ones you want to last a long time.
What do you seal painted rocks with?
The best way to seal painted rocks is to use an acrylic varnish or water-based glue sealer with a foam brush. Gently apply this as your last step when your painted rocks are completely dry. This aerosol spray works great!
This will help seal the painted rocks to ensure their unique design stays put for a longer period of time.
The Step By Step Painting Process for Rock Art
Gather up your rocks that have been cleaned and smoothed so they are ready for the base coat.
Get all of your rock painting materials ready. Be sure to have a cup of water on hand to rinse out your paintbrushes in between uses (acrylic paint is easy to clean off!).
Set up an area where you won’t mind paint or other materials from rock painting to get on. Consider using newspaper on a table if you’re going to use any of your indoor surfaces when it comes to rock painting for kids.
Apply a layer of varnish or primer (this is your base coat) and let the rocks dry before you venture towards painting creative designs on your painted rocks with the pation or acrylic paint.
If desired, use a solid paint color to create a base for your design and let it dry completely before writing or coloring on it.
Using the paint pens, come up with some clever sayings or positive words to paint on each rock. Words like Hope, Faith, and Happiness come to mind when I’m thinking about rock painting for kids.
You can use a black outline paint pen to help the painted rocks have words that pop up to catch people’s eyes faster.
Once you and your kids have finished with the painted rocks, place them in an area free of flying debris or insects to dry.
The next day you can use another layer of varnish or primer to help seal the paint and allow the painted rocks to dry for another day before using them as decorative pieces or gifts.
Rock Painting Tips
First, and most important, enjoy the painting process. Remember: painting rocks is supposed to be fun and delightful, not stressful.
Next, go ahead and look for a rock painting idea on Pinterest or Instagram if you’re feeling stumped…but also, keep a list going with any rock painting ideas that jump to mind.
A super simple rock painting technique is to paint the smooth rocks a solid color and add some stripes or polka dots. Easy rock art ideas are no less beautiful when they’re done than complex ones.
Other simple rock painting patterns include chevron (zig zags), swirls, and even splatters (use a tooth brush and your finger to “spray” the rock).
Dense stones can be heavy to hold, so make sure that you’re working on a big enough surface.
What To Do With Your Painted Rocks
So now that you’ve made your lovely painted rocks, what should you do with them?
Your painted rocks will make excellent gifts for grandparents, friends, and even teachers!
Personalized painted rocks is a special and thoughtful way to brighten up someone’s garden or yard. Plus, small ones can be tucked into a lunch sack, and you can always hide them at a local park for people to find and play a game!
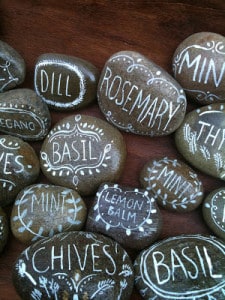
Painted stones make excellent herb garden labels. They also make excellent tic tac toe pieces.
If you have lightweight, flat stones, you can attach a magnet to the back and hang them on your refrigerator door, too. Grandmas love this one!
Rock monsters and rock Santas and rock “eggs” for Easter are ways to add seasonal flair to your landscaping or tabletops. You can even tuck them into flower pots to add some pizazz!
More Painted Rock Ideas
Check out these rock painting ideas for more inspiration:
Homemade Herb Garden Markers
Label your herbs with hand painted rocks; great for gifts with seedlings or a treasured keepsake in your own garden that you’ll enjoy for years to come.
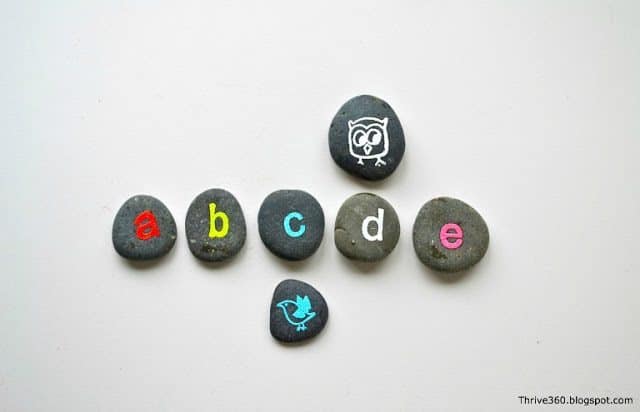
Alphabet Rocks – Heat Embossed
What a fun way to practice your letters and even spelling!
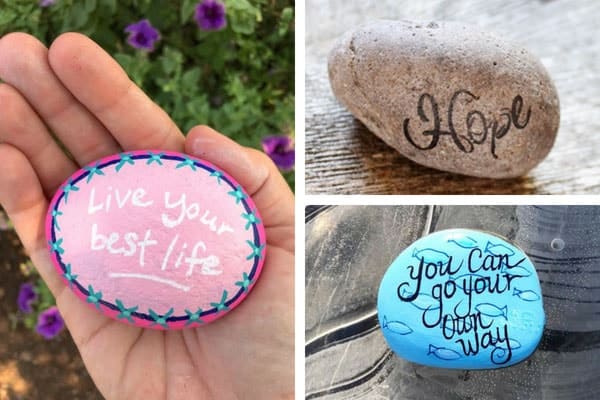
100+ Kindness Rock Painting Ideas & Sayings
Make kindness rocks with these fun and fabulous ideas for your next rock painting with kids afternoon. Inspiring words are always a winner!
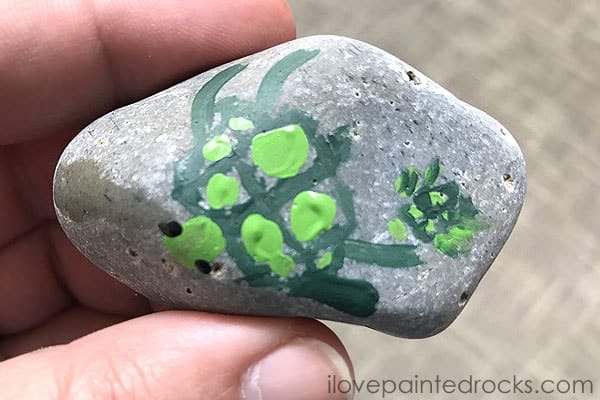
How to Play the Hide and Seek Rock Game (AKA “Kindness Rocks” or “The Traveling Rock Project”)
Here’s how to get in on this rock painting kindness fun!
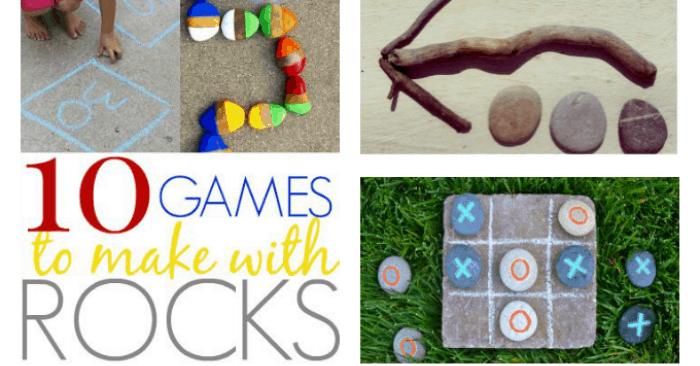
10 DIY Outdoor Games to Make with Rocks
Here are some games to make for your own yard or to give as gifts when you get into rock painting.
Remember…
Painting rocks with kids is a super fun activity that also allows everyone to bond together.
It’s also a fun and easy way for everyone to show off their creativity while also adding some decoration to your yard or garden.
There are many different ways to go about rock painting, so be sure to experiment until you find the method that works best for you. Just remember to have fun!



Thanks for the detailed tutorial. Unfortunately rock-hunting is not an option where I live, no smooth pebbles I’m afraid. I bought mine but never got to actually using them.
Hopefully you can use them soon