Paper Ladybug Craft
We may earn money from the products/companies mentioned in this post. As an Amazon Associate I earn from qualifying purchases. For more information, read our Terms & Disclosures.
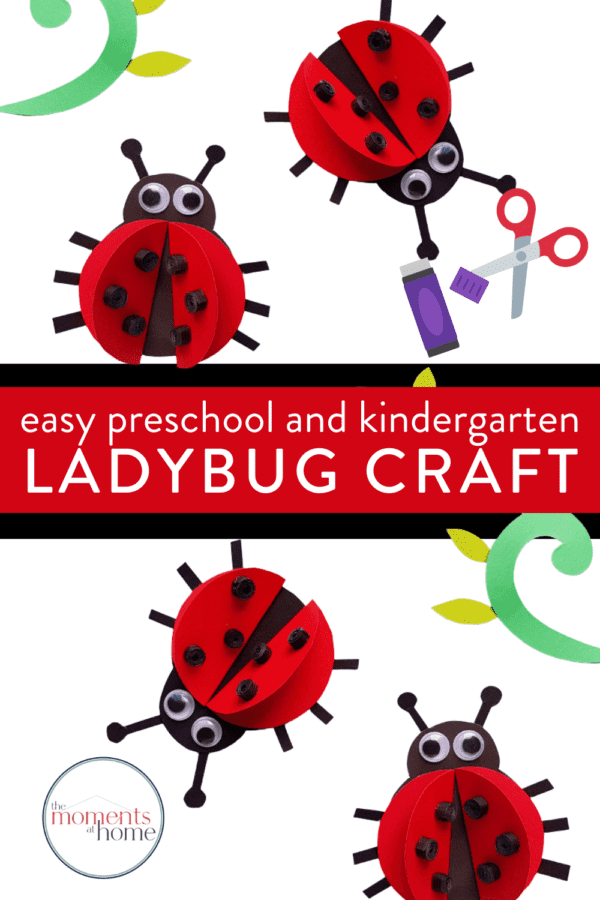
This 3D Paper Ladybug Craft is a simple and easy activity for kids from preschool and kindergarten all the way into elementary ages. With just 5 simple supplies needed, it’s easy to do any time!
Ladybug paper crafts are perfect for springtime and preschoolers and kindergarteners will love seeing their colorful artwork in your home!
Plus, you probably already have the supplies to make these darling 3D Ladybug Crafts. I love a simple craft project that doesn’t require a special trip to the store!
Tip: Don’t forget to check out this 100 Must Have Art Supplies for Preschool and Kindergarten as well. It’s always a good time to stock up!
Making Ladybug Paper Crafts
Can we all just agree that ladybugs are really quite cute?
They might get a bit of a bad rap when you’re having to clean them out of the house but overall, they’re really quite cute. And when it comes to the younger kids, ladybugs are always a hit.
This fun paper craft is ideal for preschool and kindergarten art…although even our big kids enjoy this sort of activity and have loved making their 3D paper bugs!
Let your kids be as creative as they can with this fun ladybug craft.
They’ll be working on fine motor skills with the scissors and the googly eyes are an added fun bonus.
Have the kids decorate your house with the good kind of ladybugs that are certain to brighten your day or give them as gifts to neighbors and grandparents.
You can easily use this fun ladybug craft as a simple art project or an easy way to pass a few hours during the day.
With just a few simple steps, they’ll be able to create this fun craft in no time at all.
Supplies needed for this Easy Ladybug Craft
- Colored craft paper
- Pencil
- Scissors
- Craft glue
- Googly eyes
If you want help making perfect circles, these free printable circle templates will help!

How to make this easy (adorable!) Ladybug Paper Craft
Just follow the super simple steps below to make this DIY ladybug.
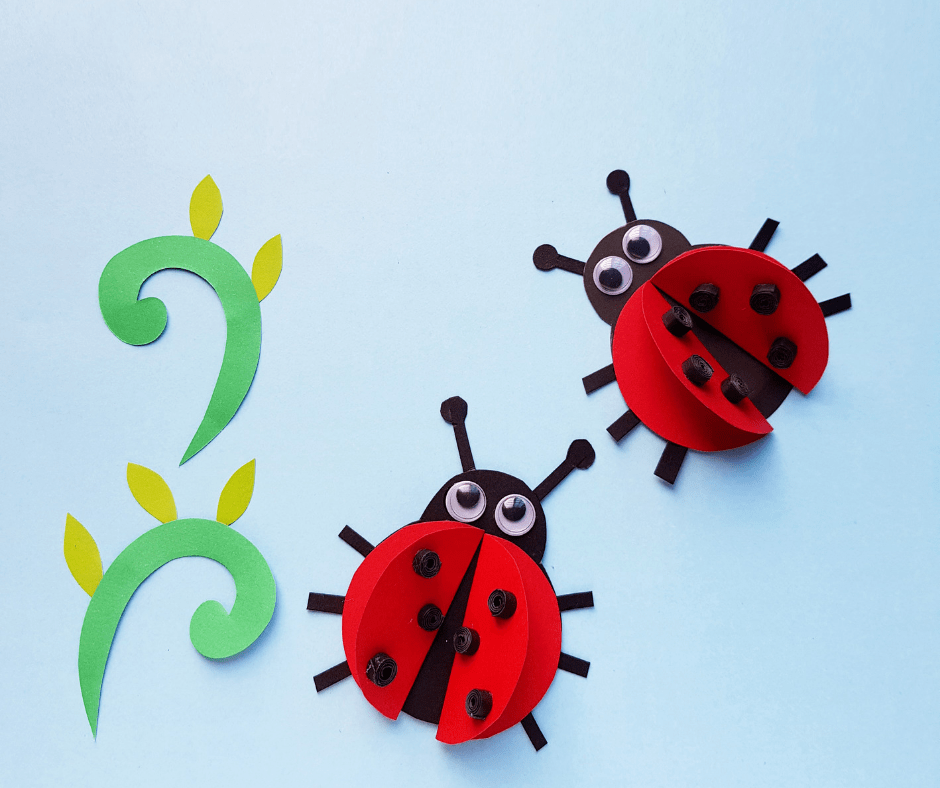
Use the black and red craft papers. Start by tracing our round shapes (use these circle templates to help!) on the red paper. Also, trace some on the black as well. Cut out the shapes.
Take and fold the 2 red circle shaped papers in half.
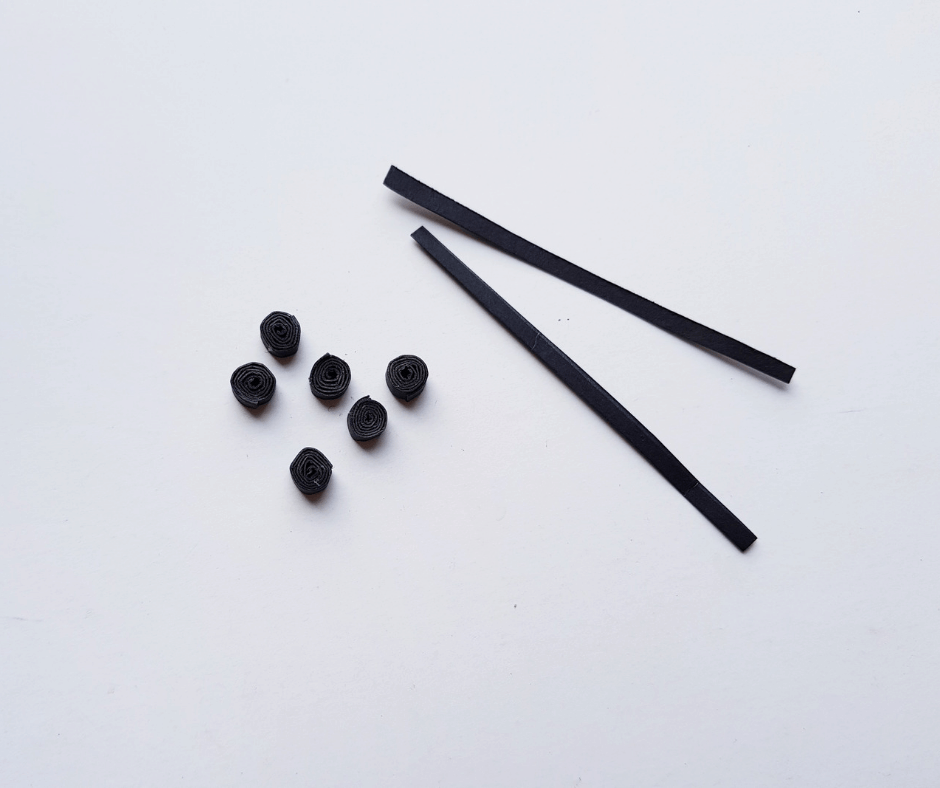
Make quilling strips for the black craft paper. Use strips about 5 inches in length and coil them to create tight coils. Add a bit of glue on the open end to keep them coiled.
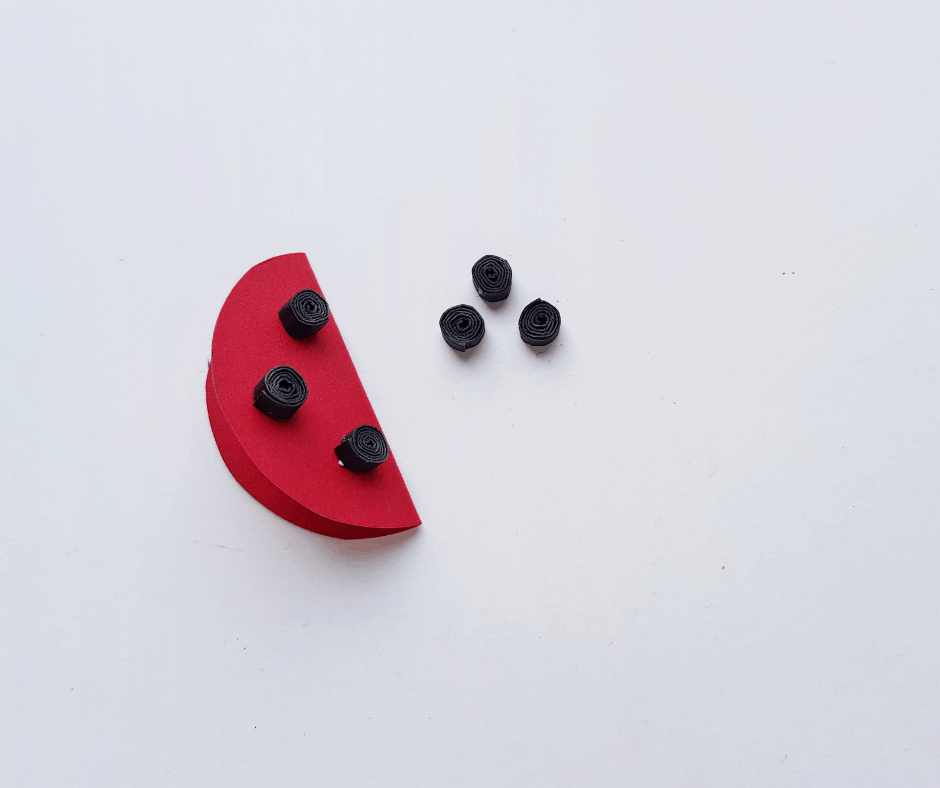
Add the black coils to any part of the red papers and stick them on both sides of the folded halves.
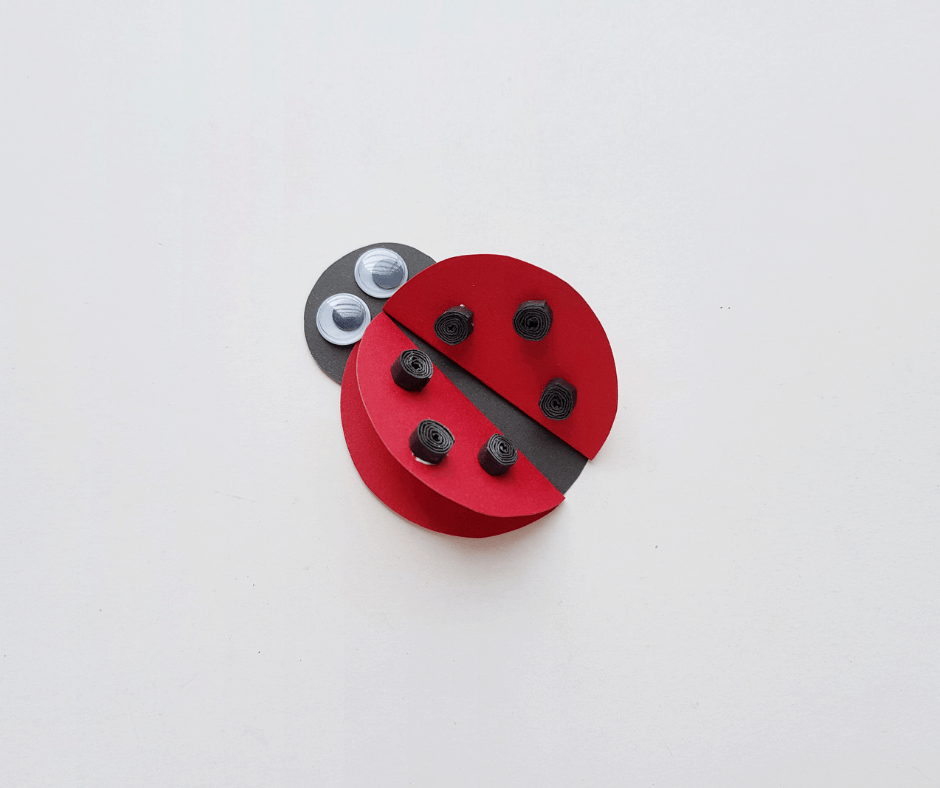
Attach the body to the red wings.
While attaching the wings be certain that the open ends of the red paper are facing out and that the closed ends are placed along the middle of the body.

Add the google eyes to the small black circle.
Put the antennas on the top of the head with a dab of glue.

Add the legs and let the glue dry.
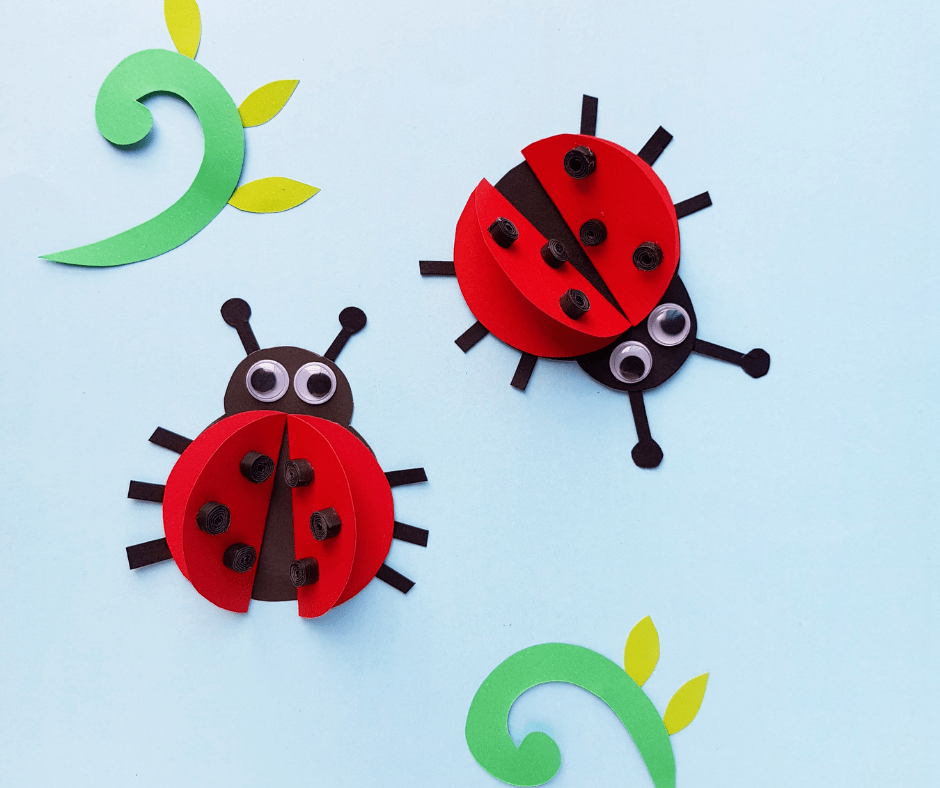
Once you do that, you can add some grass, leaves, flowers, etc if you’d like…or add the ladybugs to another project or place in your home (see more ideas for them below!)
Tips for making this Ladybug Craft
While this activity is simple, be there for adult supervision. The kids will love having the help and seeing that you’re wanting to be involved and active.
Can I use other colors of paper?
Why not? In your child’s beautiful imagination, there may be purple and orange or yellow and blue ladybugs!
Red and black are meant to give that traditional ladybug look which is why they’re used for this craft…but you never have to reign in their creativity if you don’t want to!
What can we do instead of the little black coils for dotting the wings?
If you’re doing the project with younger kids (2-3 years old) or children who still struggle with fine motor control, it’s totally okay to skip the black paper coils and instead use their fingerprints.
Fingerprints make this a much more personal and “hands-on” project, literally!
You can use either black acrylic craft paint or a black ink pad and let them use their darling little pointer fingers to make the dots on the ladybug wings.
What if we don’t have google eyes?
We’ve all been there…a fun craft project and then a missing craft supply! Cue the disastrous music here: dum dum dum…
But there’s no reason to stress it! It’s okay to be creative and improvise.
Maybe you have a hole puncher and punch out white circles and draw little black eyeballs on them. Maybe you use white drops of paint or even thick beads of Elmer’s style glue that you let harden!
What are some fun ways to display this ladybug once created?
Display it anywhere that you want! Have it sitting on a shelf or give it as a fun homemade gift to family and friends!
These decorate a flower put beautifully, you can stick a magnet on the back and hang them on the fridge, or you can use them to decorate a homemade card.
Put some double-sided tape on the back and stick one to the corner of your window or on a wrapped gift!
They would also be adorable tucked into this easy DIY paper flower wreath!
How long does this craft take to make?
From start to finish, you’re looking at about 30 minutes of time. The glue might take a bit longer to dry, but it’s usually a half hour or less craft project.
What other Ladybug Fun Ideas are there?
Ladybug themed snacks and books are the perfect way to have Ladybug day!
There are several awesome ladybug books, but our favorites here are The Grouchy Ladybug (who doesn’t love everything by Eric Carle?!) the Ladybug Girl series!
And the of course, there’s the chocolate…
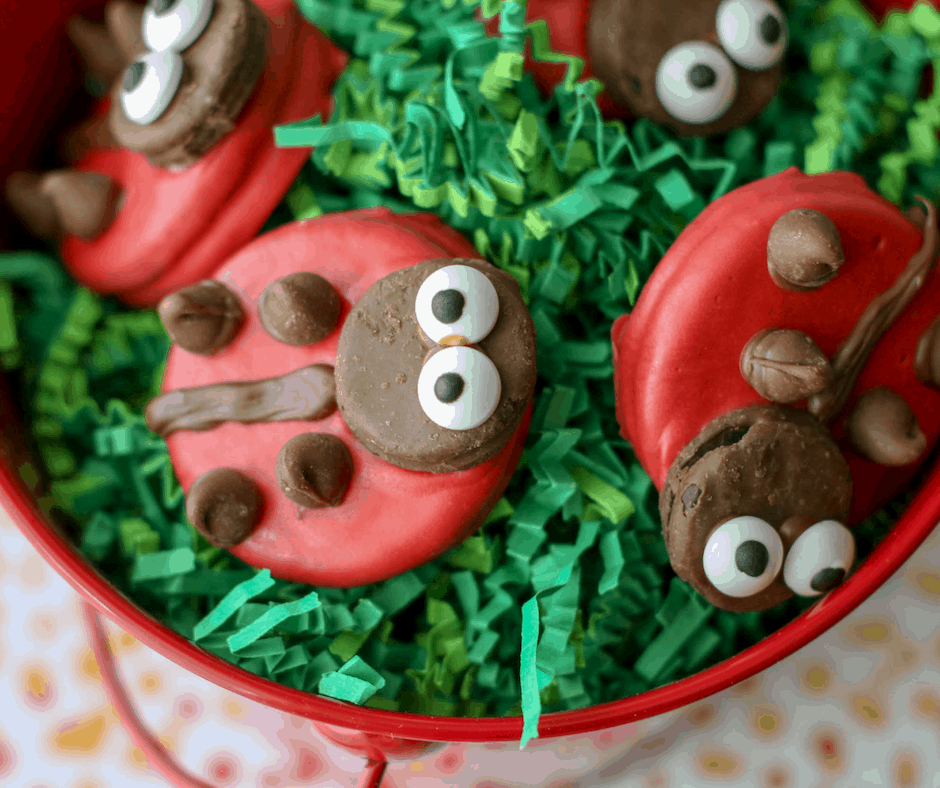
These yummy Ladybug Cookies are the perfect way to round out your ladybug-themed day.
You can make them to surprise your little ones OR make them with your little helpers for even more ladybug fun together.
How To Make 3D Paper Ladybugs

Ladybug Craft
This fun ladybug paper craft is a simple activity for the kids.
Materials
- Colored craft paper
- Pencil
- Scissors
- Craft glue
- Googly eyes
Instructions
Use the black and red craft papers. Start by tracing our round shapes on the red pepper. Also, trace some on the black as well. Cut out the shapes.
Take and fold the 2 red shaped papers in half.
Make quilling strips for the black craft paper. Use strips about 5 inches in length and coil them to create tight coils. Add a bit of glue on the open end to keep them coiled.
Add the black coils to any part of the red papers and stick them on both sides of the folded halves.
Attach the body to the red wings.
While attaching the wings be certain that the open ends of the red paper are facing out and that the closed ends are placed along the middle of the body.
Add the google eyes to the small black circle.
Put the antennas on the top of the head with a dab of glue.
Add the legs and let the glue dry.
Notes
If you make this with younger children who find the paper coils too much of a challenge (or if you just want this to be a more personal memory keepsake) use fingerprints instead!
Simply get some black acrylic paint or even a black ink stamp pad and let them use their pointer finger print instead!